Like many of you I tend to browse Imgur from time to time. I noticed a few times some folks were showing off their build of a Smart Mirror and I thought to myself that would make a great thejimmahknows post! So here we go!
-
Supplies:
-
- Furring Wood — This will be used as our frame’s trim and mirror.
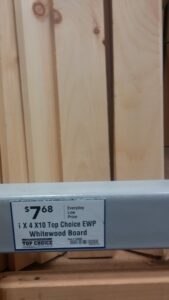
- Whitewood — This will be used to frame our box.
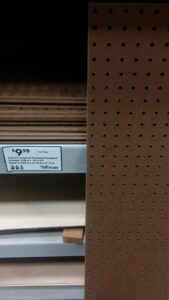
- Perforated Hardboard — Used on the back of our Smart Mirror.
- Wood Glue — This will be used to tie the Frame and Furring Trim together.
- Clutch clamps — I had 3 of these at my disposal, I highly recommend having at least to two(2).
- Two-way Mirrored Acrylic Sheets– I went with 3/16th and the dimensions of the TV.
- Raspberry Pi — The brains of this operation!
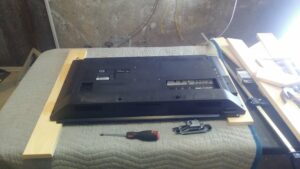
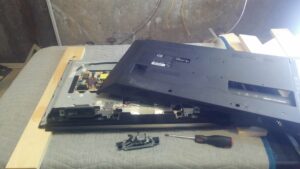
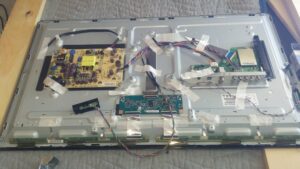
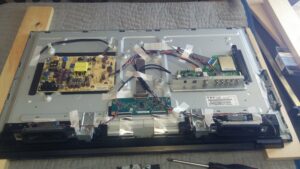
- Monitor/TV — Choose one to meet your needs. Mine goal was to fine a cheap LED 32in monitor/TV. I settled with a Sharp LC-32LB370U (32″ LED TV)
- Optional: Nail Set — Use this to nail in the trim, I already had one of these.
- Optional: Finishing Nails — Just a little extra to tie the Frame and Trim together.
-
-
Sizing:
-
Framing
- Accounting for the sizing obtained in the previous step. I added 3/8 inch to the overall dimensions.
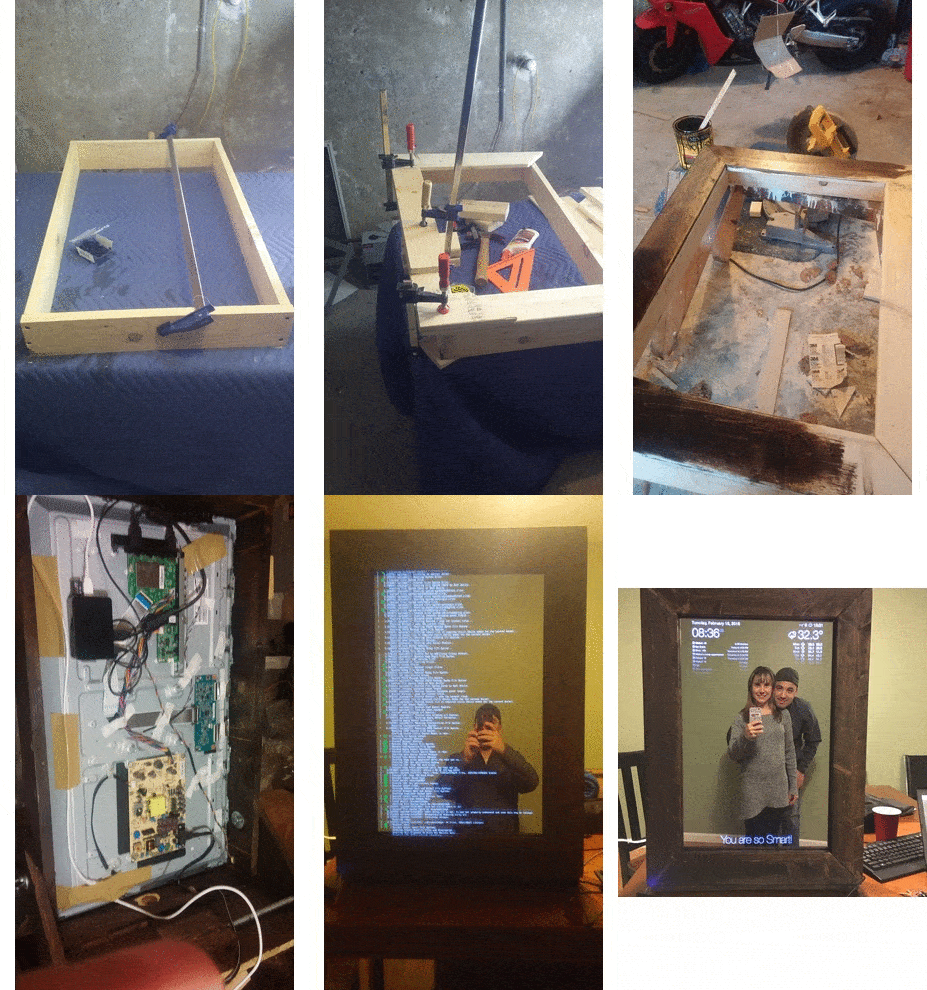
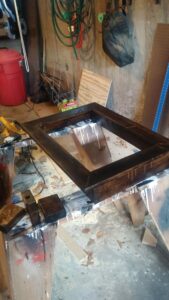
- Cut the pieces appropriately and glued w/screws to hold the frame together as show below…
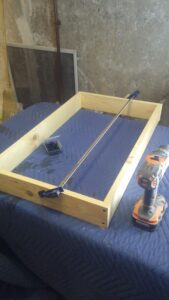
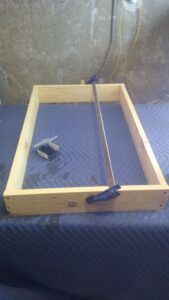
- I also covered the screw holes using a little Wood Fill Puddy to hide them.
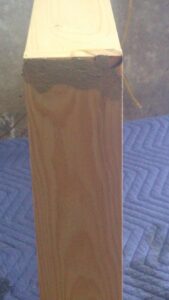
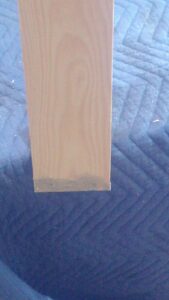
- After it dries, use sandpaper to smooth it out. I went 80 to 120 grit.
-
The Trim
- Start the Trim process by using the dimension of the frame you created in the previous step. Account for an approxmet overhang of 1 inch of inside frame.
- Use a miter saw to cut the 45 degree angles and using glue anchor it to the frame.
- I would recommend starting with the top pieces of trim..One at a time!!
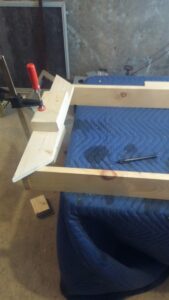 and then the bottom one…
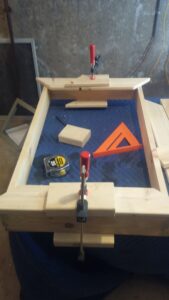
- After the top and bottom pieces have finished glue. Move on to the side pieces. Depending on how straight the furring wood is or if its contorted, re-measure before cutting the side pieces so they fit.
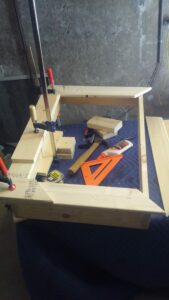 left and then right, i think….
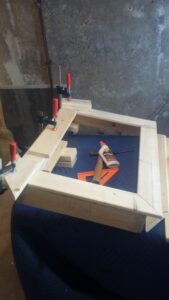
- I added some finishing nails for extra holding strength. Use a speed square to set your nails to compensate for the trims overhang.
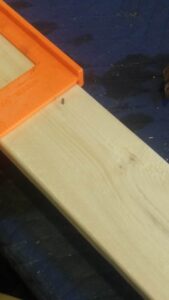
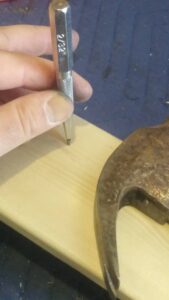
- Finished Frame and Trim
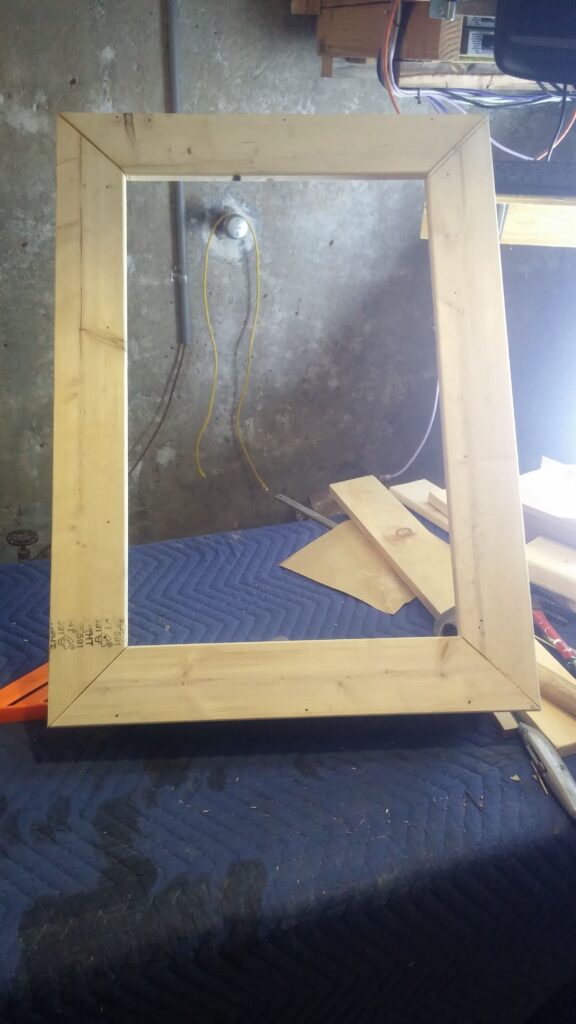
-
The Stand
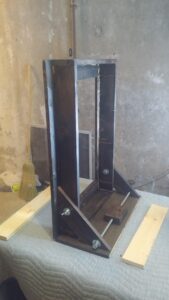
- A pretty simple design, using some of the spare Whiteboard pieces from the frame construction I cut at 45s to make the supports.
- I chose to use threaded bolts with wing nuts to easily convert it and hang it directly on the wall.
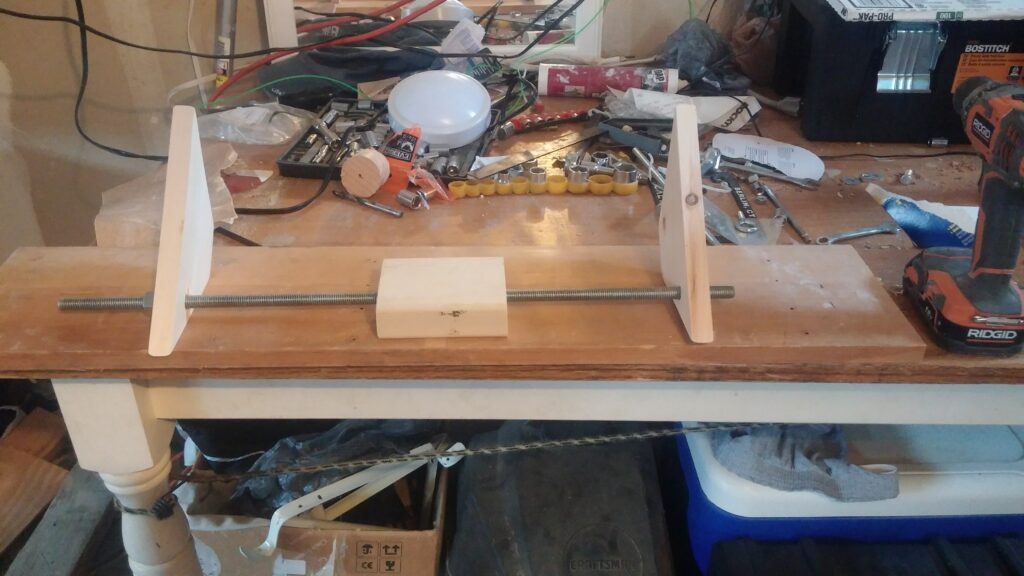
- Lastly I used some scrape plywood or MDF board to cut the base. The base size will depend on how tall and heavy you make yours!!
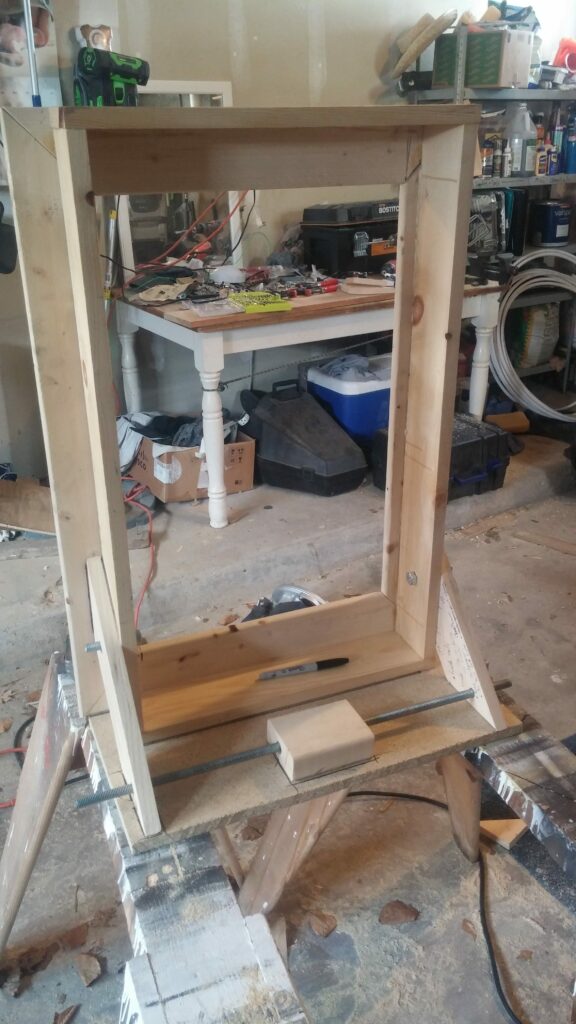
- A little 2×4 to secure it and we are done with this part!
-
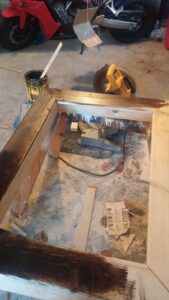
Time for some Stain!
-
Putting the stand together
- I decided to drill a 1.25″ hole at the bottom of the the frame for future use. If I ever want to hang the frame I can easily re-route the wires through this hole and out the bottom.
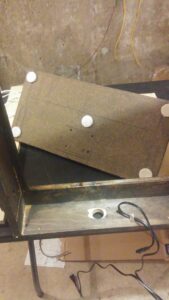
- Putting the Stand and Frame together, using the threaded bolts and wing nuts, make assembling it fast.
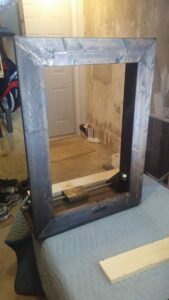
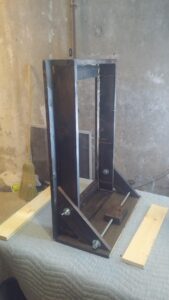
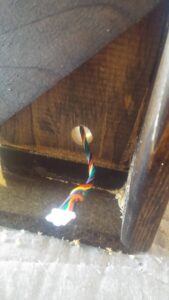
- Drill a small hole behind the trim to route the Infrared sensor for the TV
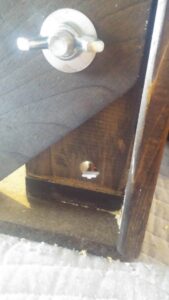
- I decided to drill a 1.25″ hole at the bottom of the the frame for future use. If I ever want to hang the frame I can easily re-route the wires through this hole and out the bottom.
-
Inserting the Mirrored Glass and TV
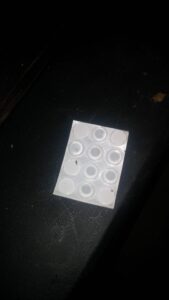
- Use rubber stoppers or something similar prior to inserting the glass into places. I found these at Home Depot for under $3.
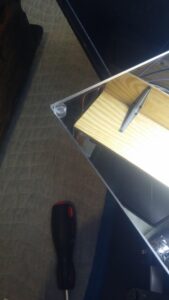
- Insert the Glass in very carefully!!
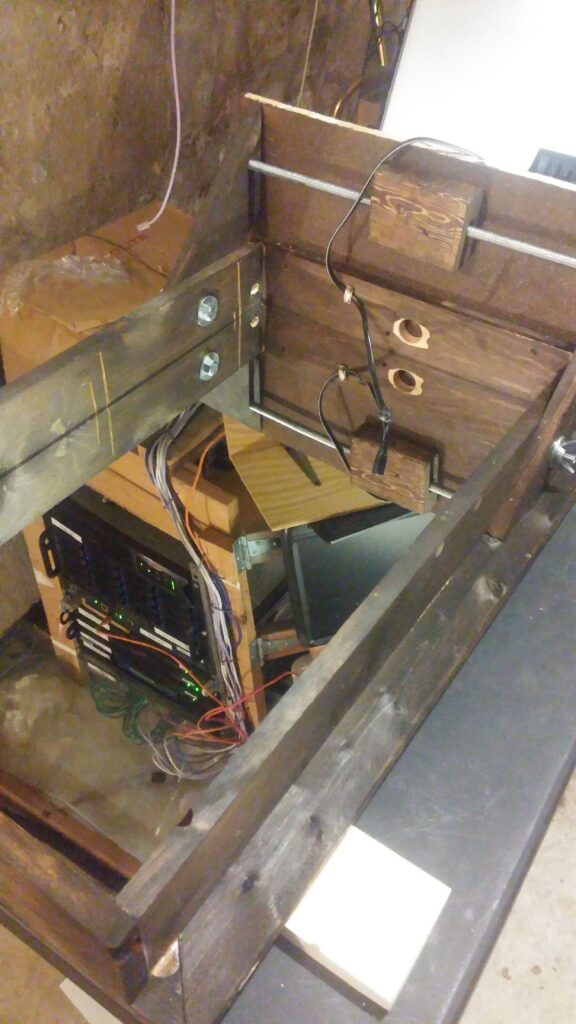
- Now lay the TV (without the bezel) on top of the glass)
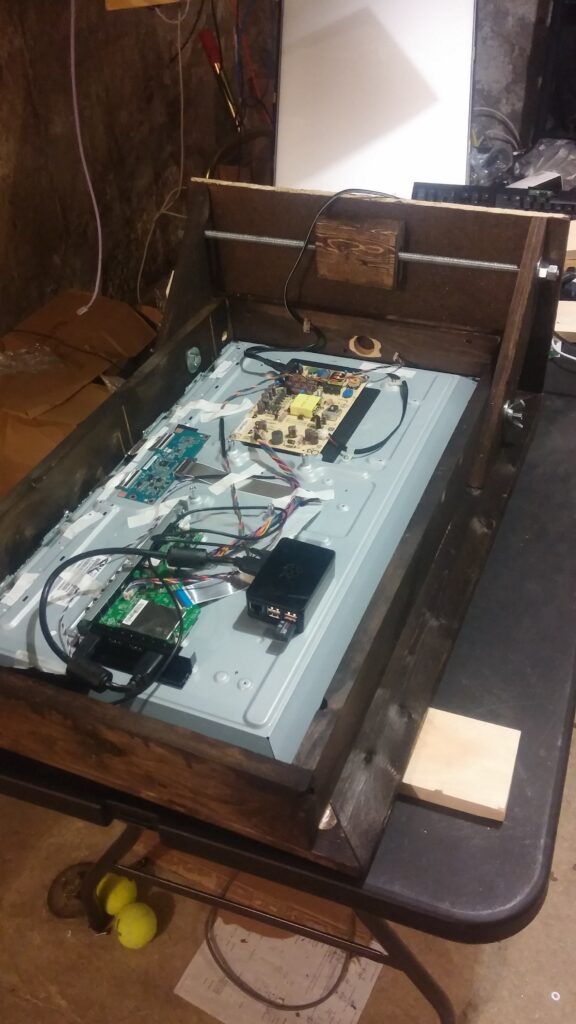
- Feed the Infra-red wire through the hole we made in the previous step.
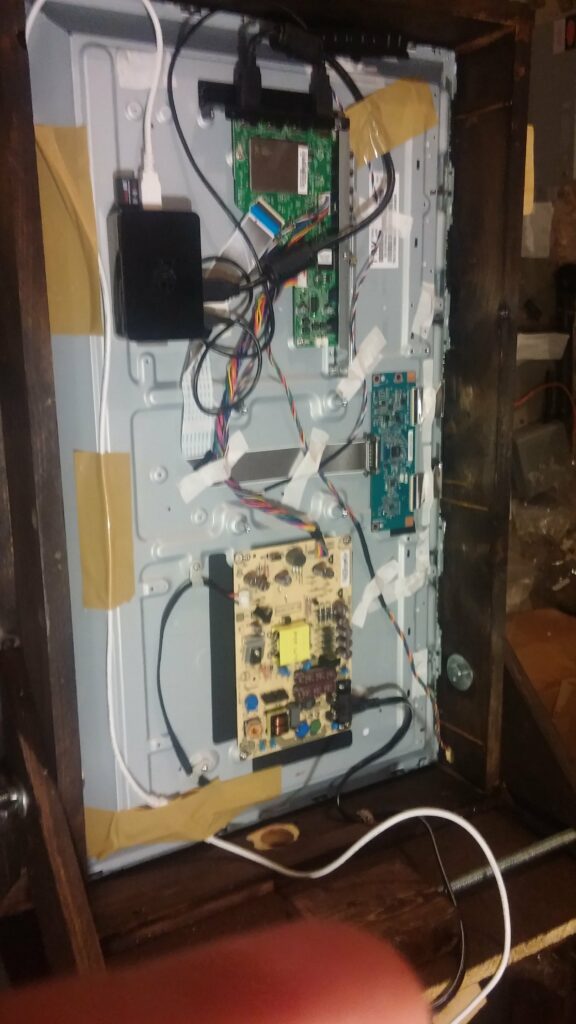
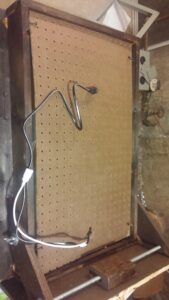
- Using Velcro strips and some packing tape secure the Raspberry Pi and cabling.
- Use rubber stoppers or something similar prior to inserting the glass into places. I found these at Home Depot for under $3.
-
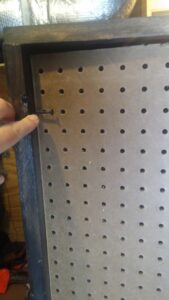
Adding the back
-
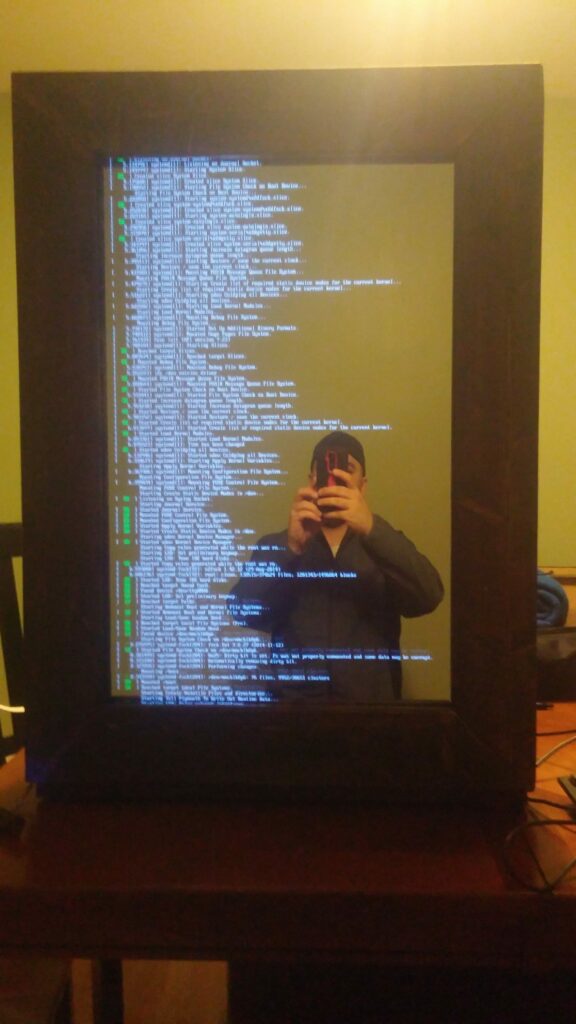
Let’s boot it up!
- Please visit https://www.raspberrypi.org/help/noobs-setup/ to learn how to setup your Rasberry Pi for the first time.
- There really isn’t much at work here, we wil be running Apache2 a very common web server, tell the Rasberry Pi to launch it at login(which we’ve set to auto-login), and it will host some custom HTML and CSS to present us with what we want to see behind the mirror.
- MichMIch maintains the code with the template on GitHub, grab it here https://github.com/MichMich/MagicMirror
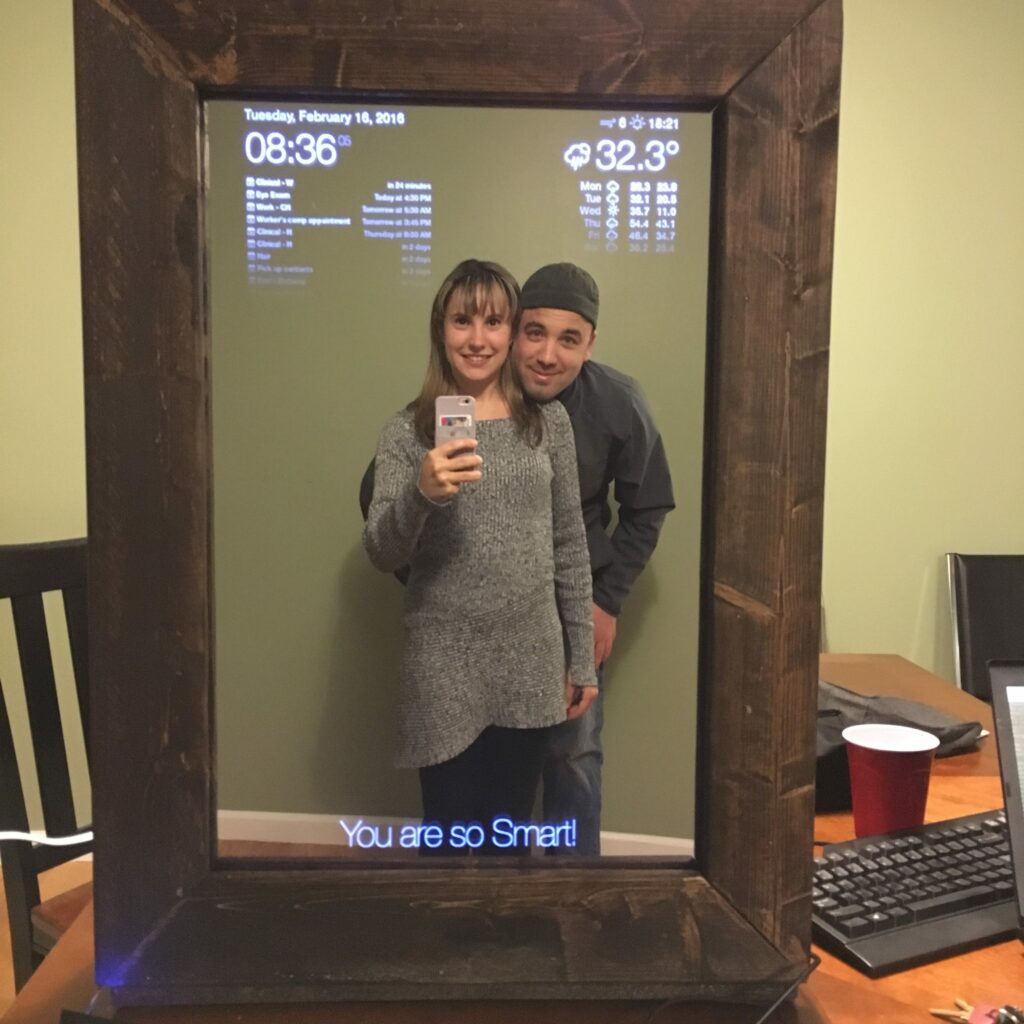
- Oh look at the magic!
-
The Finished Product
-
Inspiration (Thank you so much!)

This is Awesome! But… How do I Hack?
First you must know what this is, then and only then can you hackthis.